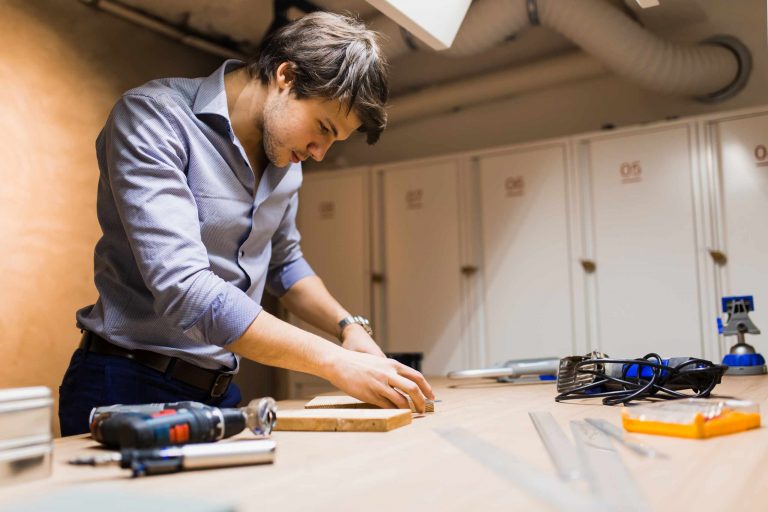

Don’t ruin the edges, details, or thin veneer on furniture when you sand it. Take a scrap board or some other hidden part of the furniture and make three light passes with a piece of sandpaper. Wipe off the dust, and examine carefully how much of the existing finish was removed. You now have an idea of how hard to press before you sand a drawer front or a veneered panel in a visible location. Furniture sanding is not so much about getting off as much material as possible as it is about getting to a good surface for the next layer. Solid wood on flat areas is generally more forgiving than veneer, rounded edges, or intricate details.
Veneer is only a very thin layer of wood over some other material, so if you sand too aggressively, you can sand right through it. After you sand through a piece of veneer, the area may be visible even after applying primer or paint to the rest of the furniture. If you’re not sure if a piece of furniture is solid wood or veneer, apply less pressure and look at the furniture often. Don’t assume that there’s plenty of extra material to sand away.
Sanding furniture also means keeping the edges intact. Because the sandpaper applies more pressure on a corner than on a broad face, you’re likely to sand away too much material on edges. Sanding back and forth over the edge of a drawer front can round a crisp corner and possibly expose a different material under the veneer. Try to keep the sanding block flat on the flat surfaces and ease up on the pressure as you near corners. For narrower edges or molding, it’s easier to work with folded sandpaper than to try to sand the molding with a sanding block.
The sandpaper you use will also determine how fast the surface changes. Coarse sandpaper may leave scratches that will be visible under a coat of primer or paint, while sanding too finely may not adequately dull a glossy surface. The exact grit you need will depend on the type of finish and the material you’re working on, so sanding should be viewed as an incremental process. After sanding a few passes, wipe off the dust and look at the surface. Don’t just keep going. A piece of furniture that has been previously painted may need just enough sanding to smooth out imperfections and remove the sheen, but you may not need to sand away all the old paint.
You’ll also want to avoid damaging grooves, details, and tight corners. It can be tempting to apply more pressure when sanding these areas because the sandpaper doesn’t make full contact with the detail. More pressure will likely cause you to remove more of the detail than you intended. Use a smaller piece of folded sandpaper and gently follow the contours. If you have loose old paint, focus on securing it and feathering the edge of the loose area, rather than trying to sand the whole surrounding area down to the bare wood. Then, remove as much dust as possible so that the dust won’t collect in crevices and prevent proper adhesion of the primer.
One indication that you’ve gone overboard on sanding is when you find yourself not examining the surface but simply aiming for an overall even look. Different areas of older furniture will wear away at different rates, especially in areas that have been previously finished, repaired, or covered with veneer. Before you prime and paint, your aim is typically a good, stable surface that’s ready to accept new paint, not necessarily equal amounts of bare wood throughout. When the surface is sufficiently smooth, loose old finish has been secured, and excess shine has been removed from appropriate places, sanding any more may pose a risk of damage without improving the surface.
Before priming or testing the paint, look at the furniture with the light coming in at an angle and run your fingers over the prepared areas. Check for deep scratches, rounded edges, exposed veneer edges, and high ridges around old paint. If one section suddenly appears much brighter or thinner than the others, stop sanding. Good preparation of wooden furniture often means sanding less, inspecting more frequently, and letting the condition of the furniture itself tell you when it’s time to stop.